 くにみつ
くにみつ今日はフォントアイコンを使う方法ですね。
文字だけよりアイコンがあった方が愛着も湧きますし、見やすくなるので、オススメです。
「Font Awesome」とは以下のようなアイコンですね。以前は画像をわざわざ用意していましたが、「Font Awesome」が利用できるので、とても楽になりました(*^^*)

↓「Font Awesome」公式サイト
あわせて読みたい


Font Awesome
The internet's icon library + toolkit. Used by millions of designers, devs, & content creators. Open-source. Always free. Always awesome.
目次
SWELLで「Font Awesome」のアイコンを使う方法
SWELL設定から読み込ませる
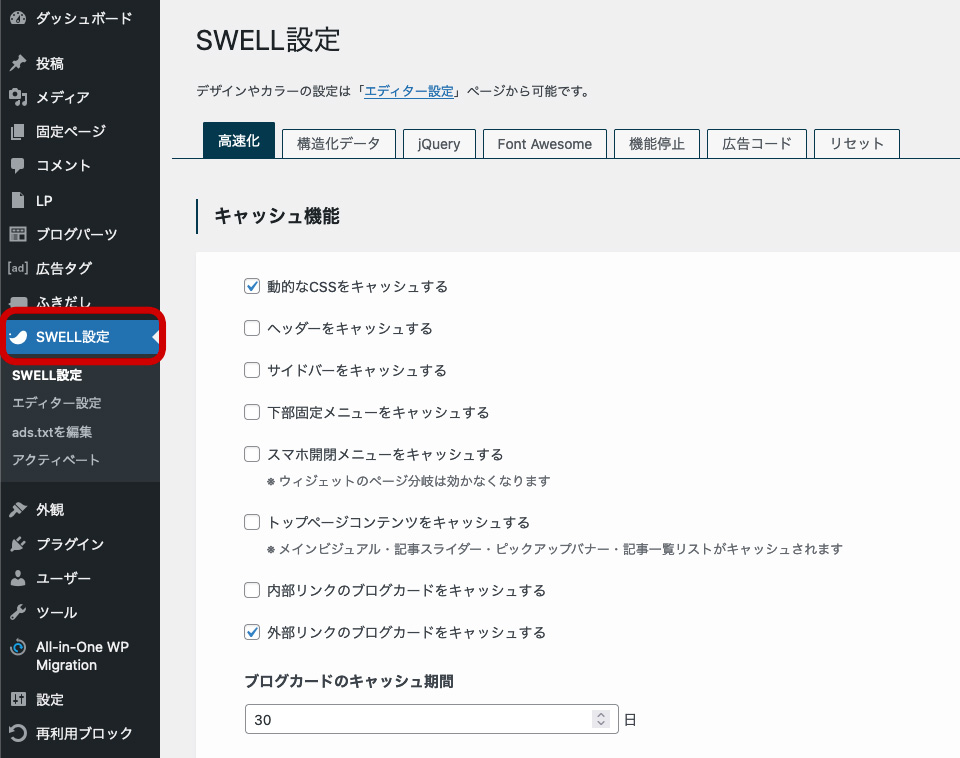
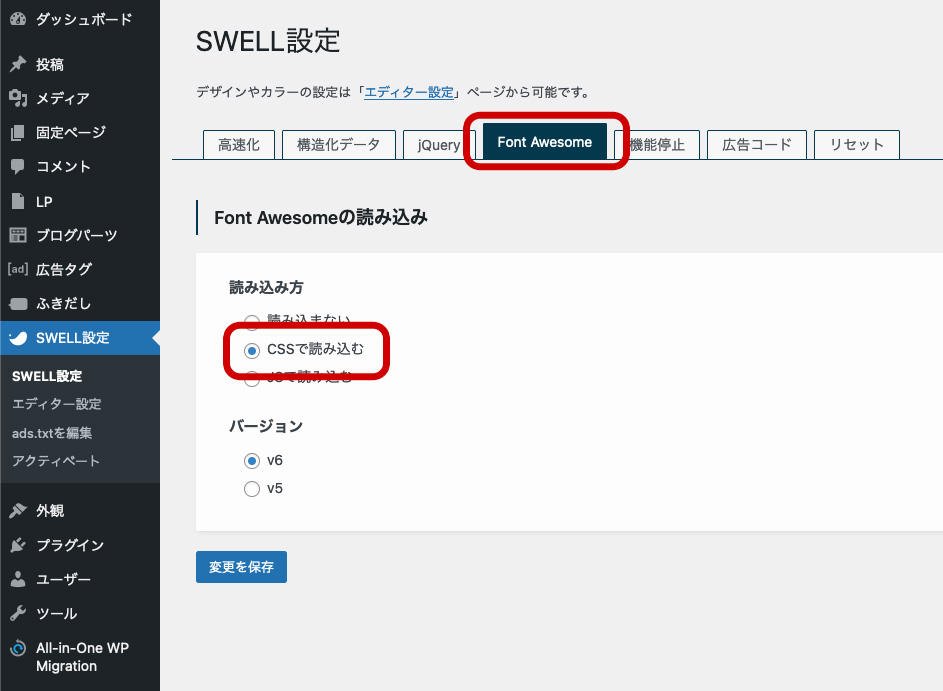
その後、「変更を保存」をクリックしましょう。
 がんばります君
これだけで「Font Awesome」が使えるようになります。
「Font Awesome」使用方法
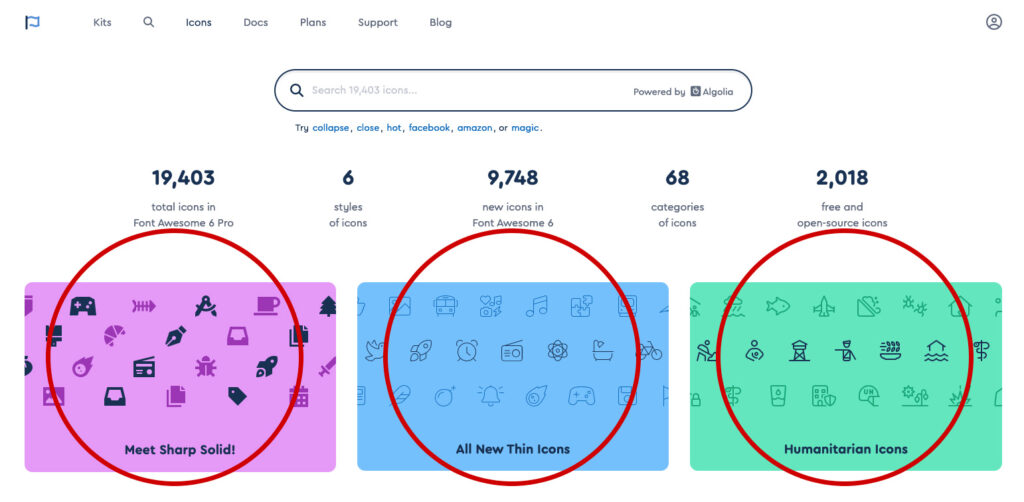
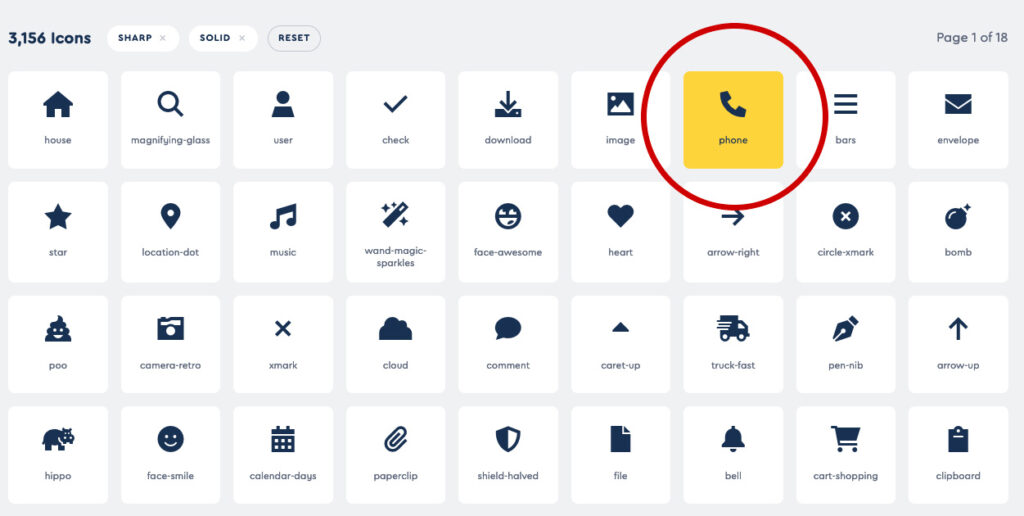
まずは以下から使いたいアイコンを探しましょう。
あわせて読みたい
Find Icons with the Perfect Look & Feel | Font Awesome
Used by millions of designers, devs, & content creators. Open-source. Always free. Check out the all-new Sharp Solid icons, available in Font Awesome 6 Pro.
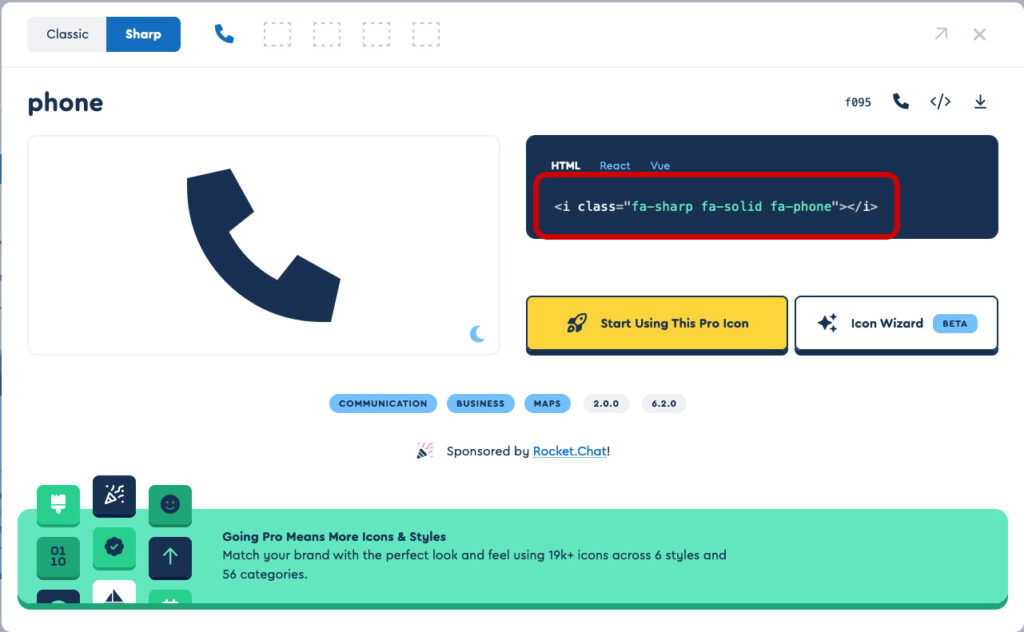
後は以下のようにすればOKです。
[icon class="fa-sharp fa-solid fa-phone"]見出しの前に電話アイコンが表示されています。
くにみつちょっと最後が難しいですが、使いだすと面白いですよ^^
キャプションボックスとかはデフォルトで簡単に使えるので、以下も合わせて確認してみてください。
あわせて読みたい

キャプションボックスの使い方
今回はキャプションボックスの使い方です。コンテンツをキャプション付きで見やすくするためのブロックのことです。「見出し+説明文で構成する時に少し目立たせたいな...