 くにみつ
くにみつではヘッダー部分の最後ですね。
今回設定するのは以下の2箇所。
メインビジュアルと記事スライダーを設定していきましょう。
- キャッチコピー
- ロゴ
- SNSアイコン
- ナビゲーション
- メインビジュアル
- 記事スライダー
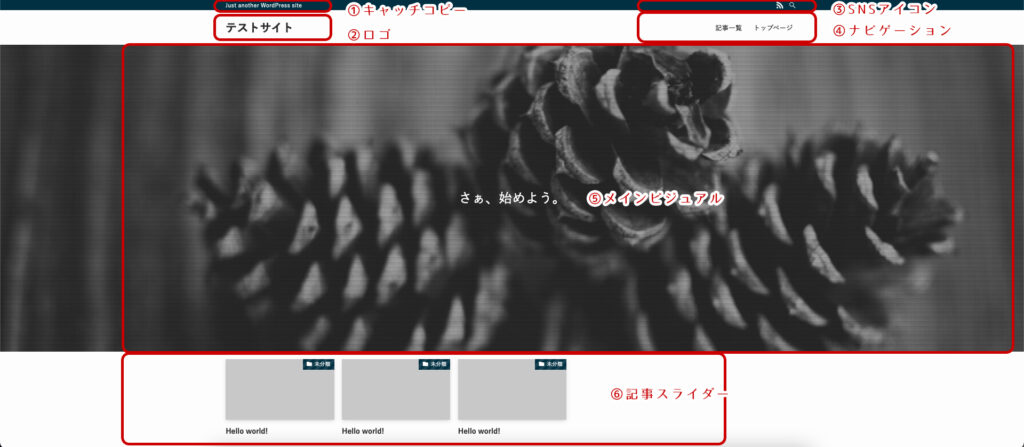
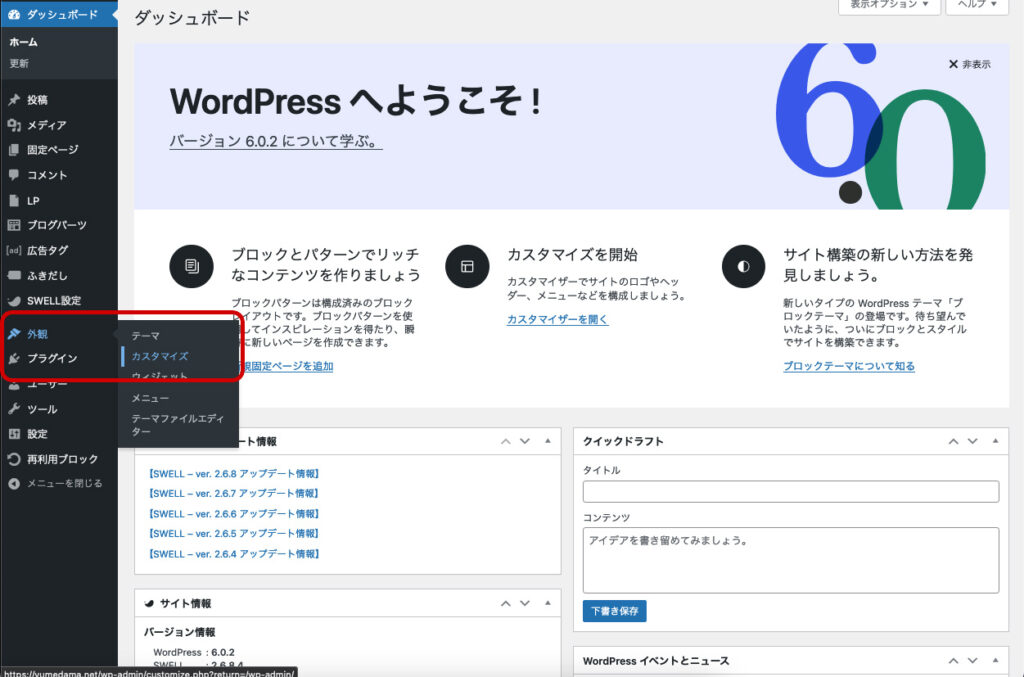
サイト上部ヘッダーの設定
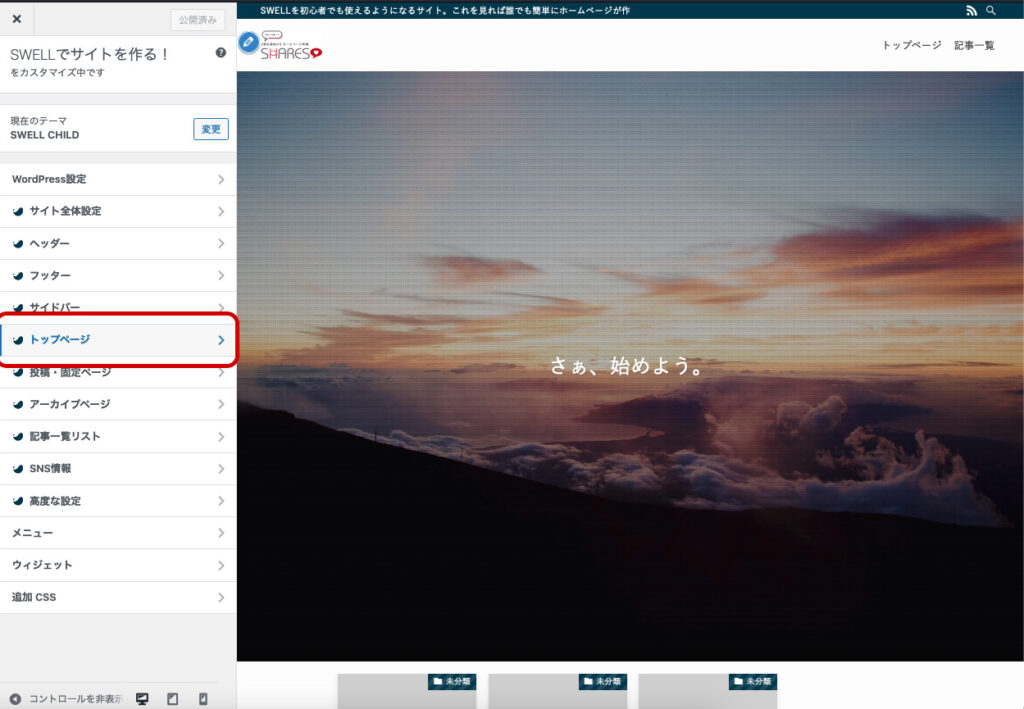
⑤メインビジュアル
くにみつはい、ではメインビジュアルを見ていきましょう。
ここに力を入れましょう。訴求力のある画像や動画を埋め込んでホームページを訪れた方が他のサイトに行かないようにしっかり興味づけを行いましょう。
 がんばりますさん
画像を探したいという方は以下を参考になさってください^^

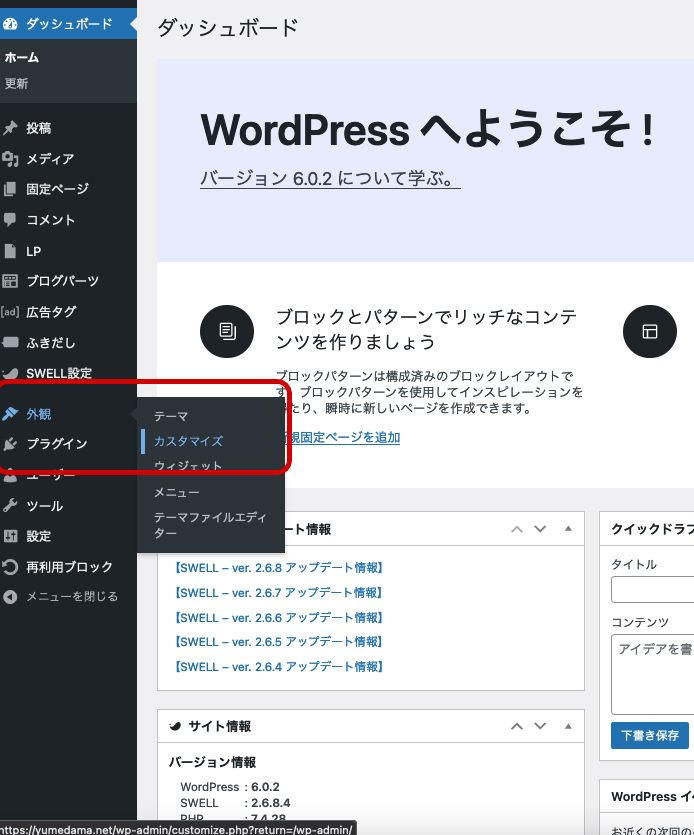
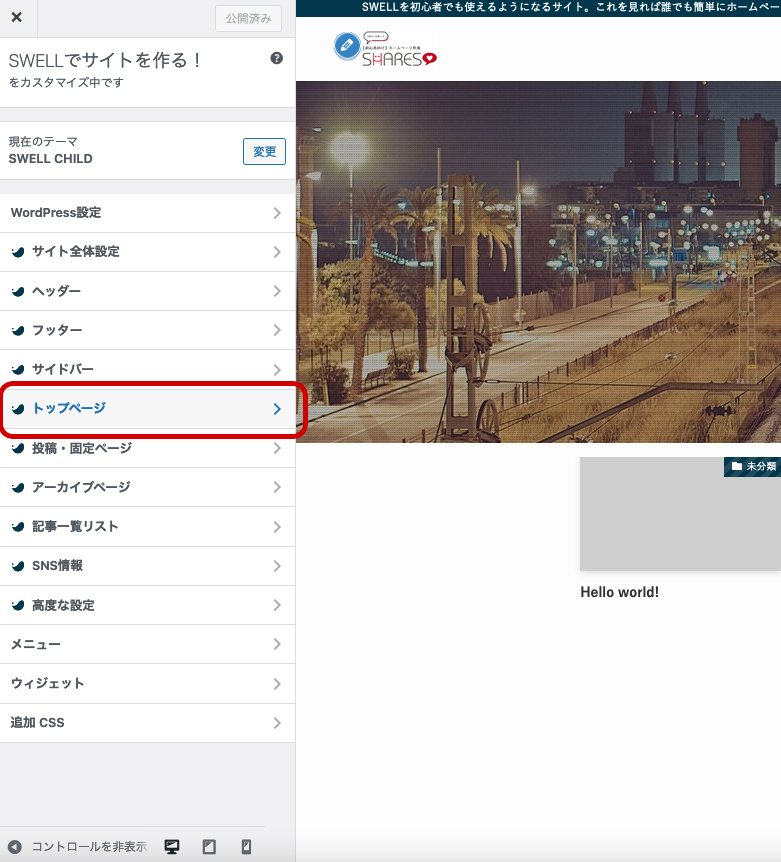
ではいつも通り
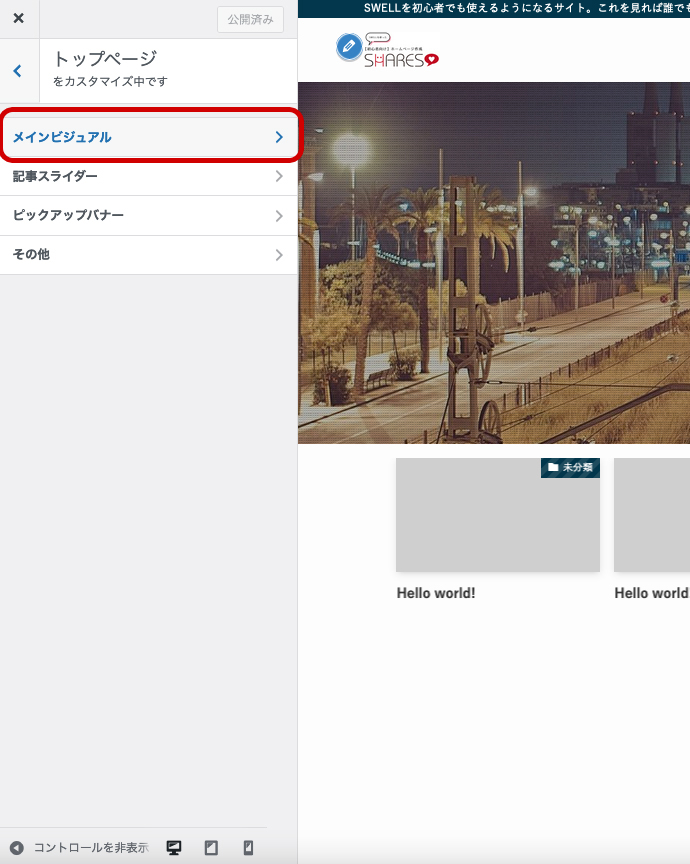
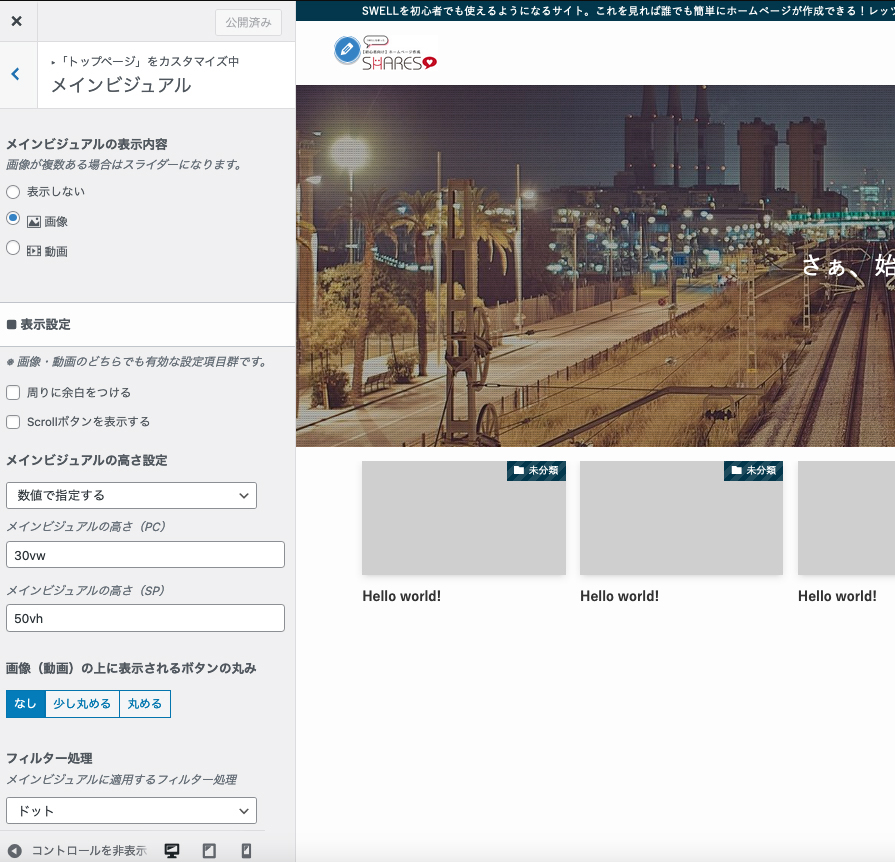
メインビジュアルの表示内容
表示しない
メインビジュアルを表示させない場合はこちらを選択しましょう。
画像
メインビジュアルに画像を表示させたい場合はこちらを選択します。
メインビジュアルの高さ設定
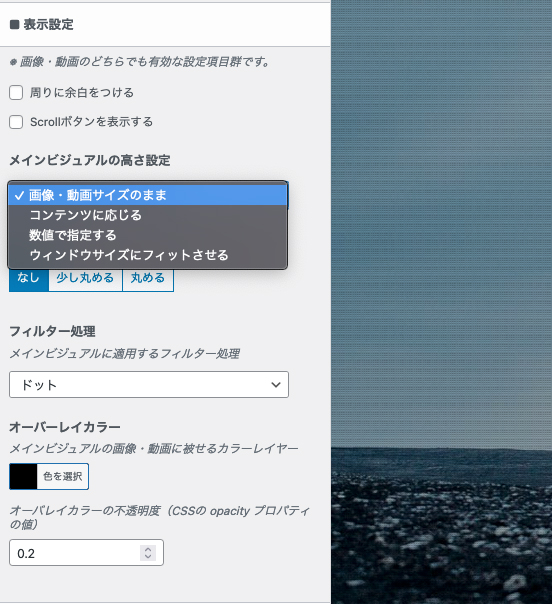
- 画像・動画サイズのまま
- コンテンツに応じる
- 数値で指定する
- ウィンドウサイズにフィットさせる
フィルター処理
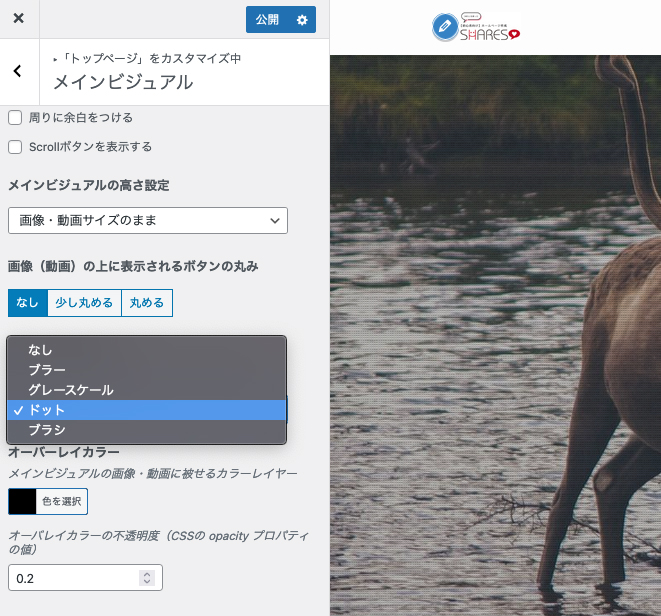
- なし
- ブラー
- グレースケール
- ドット
- ブラシ
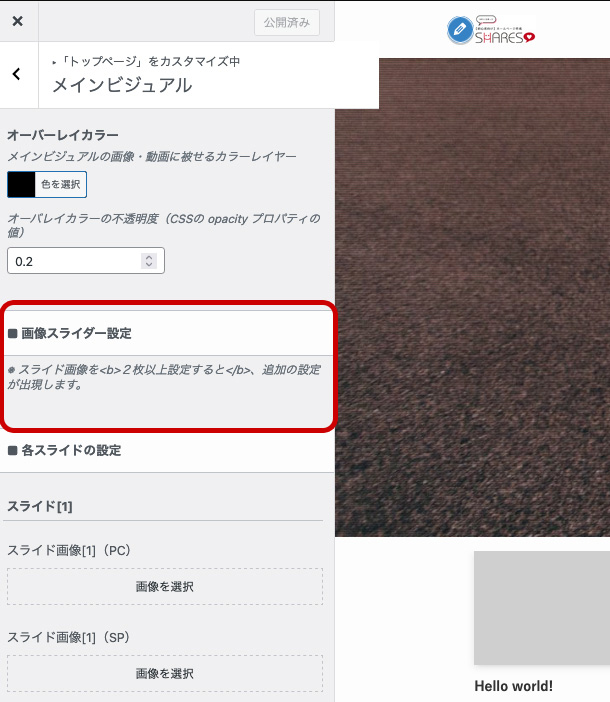
オーバーレイカラー
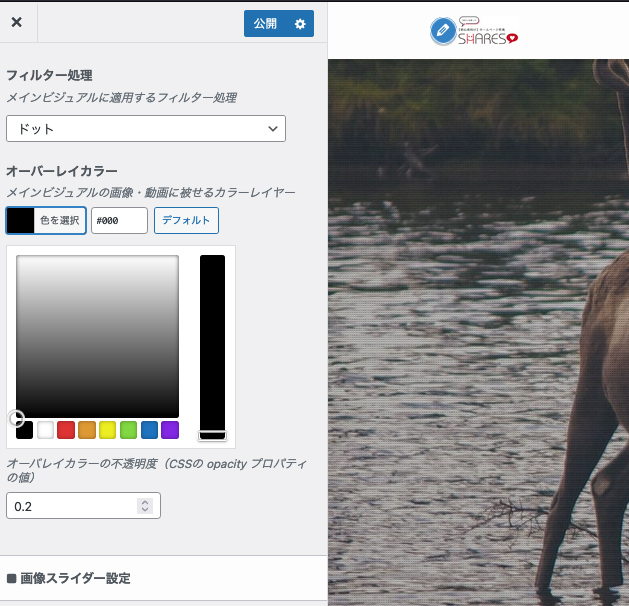
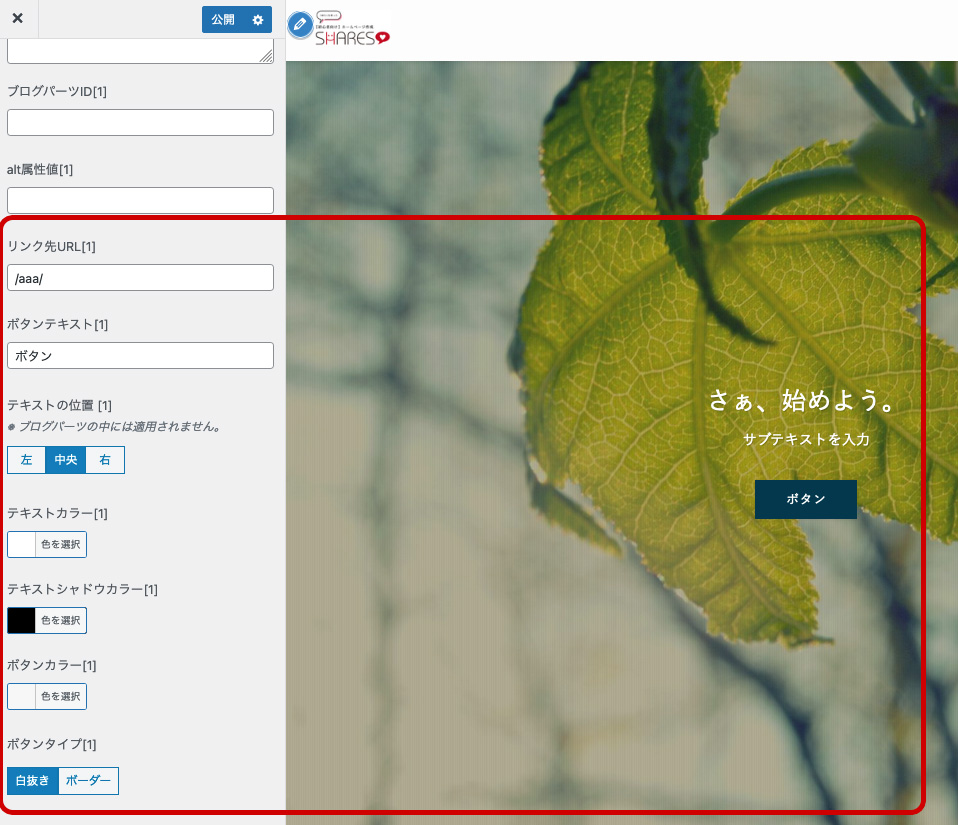
画像スライダー設定
スライド[1]
「スライド画像」にPC用とSP用(スマートフォン)の画像を設定しましょう。
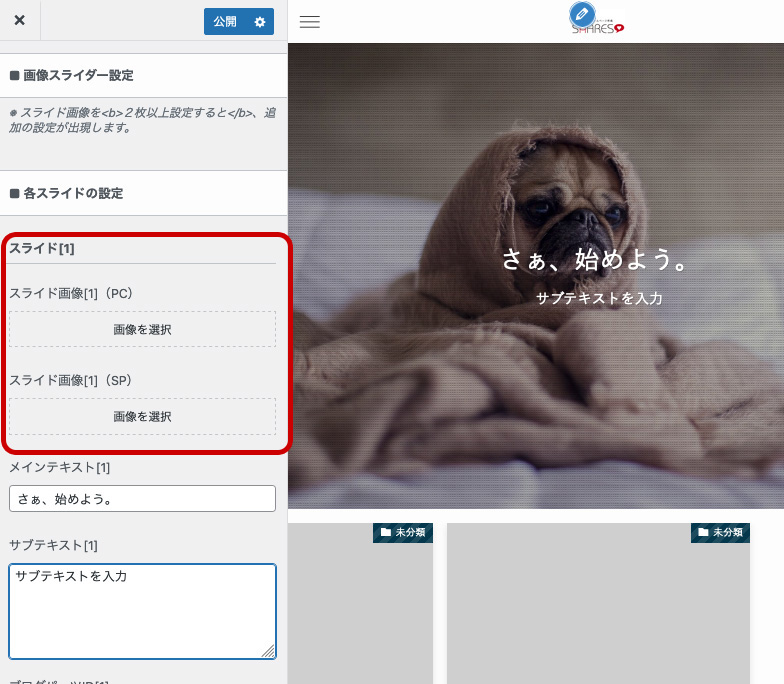
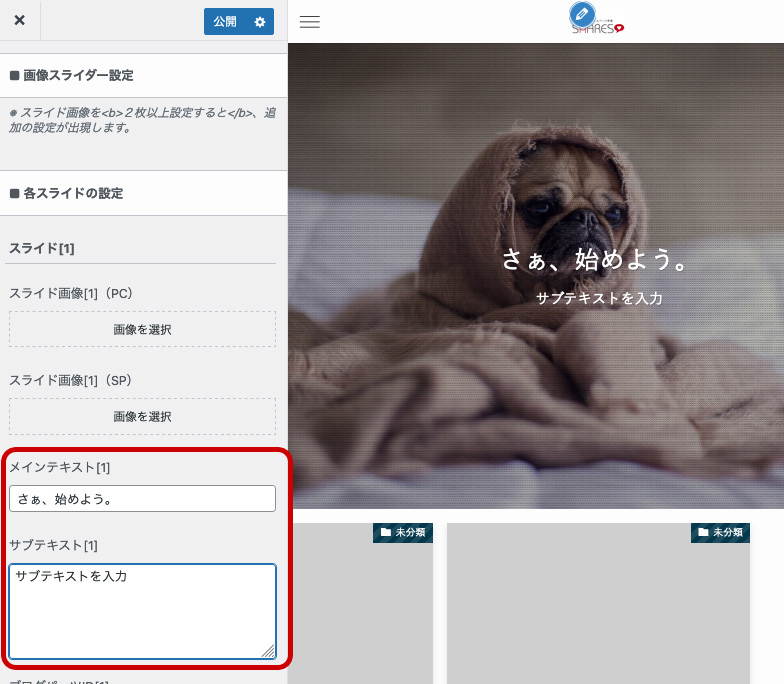
メインテキスト[1]、サブテキスト[1]にキャッチコピーを入れましょう。
右のプレビュー画面を確認しながら入力してください。
「リンク先URL」に移動させる「ボタン」を設置する事も可能です。
その他、キャッチコピーやテキストの色、ボタンカラーなどが設定可能です。
動画
動画も画像と操作方法は同じですので、画像を参考になさってください。
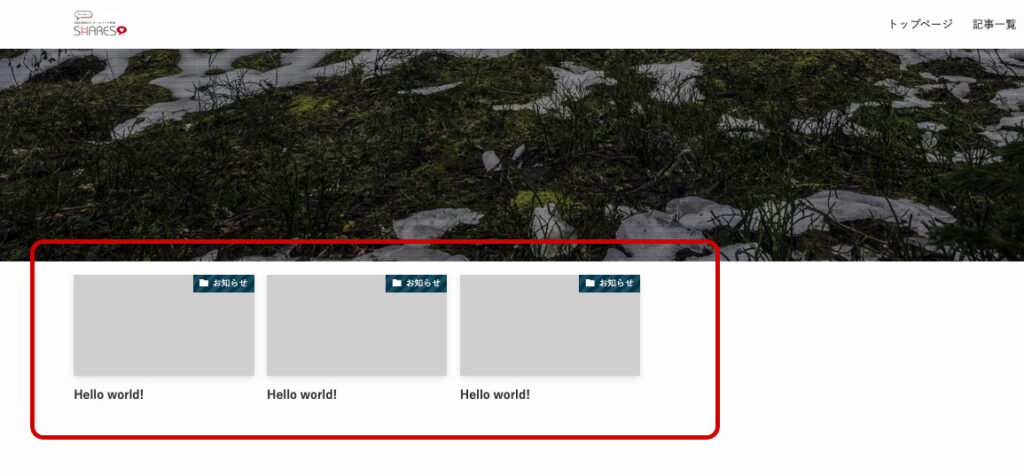
⑥記事スライダー
くにみつでは次は記事スライダーを見てみましょう。
記事スライダーは新着記事やピックアップ記事など、特にいち早く見てほしい投稿記事を見てもらえやすくする機能です。
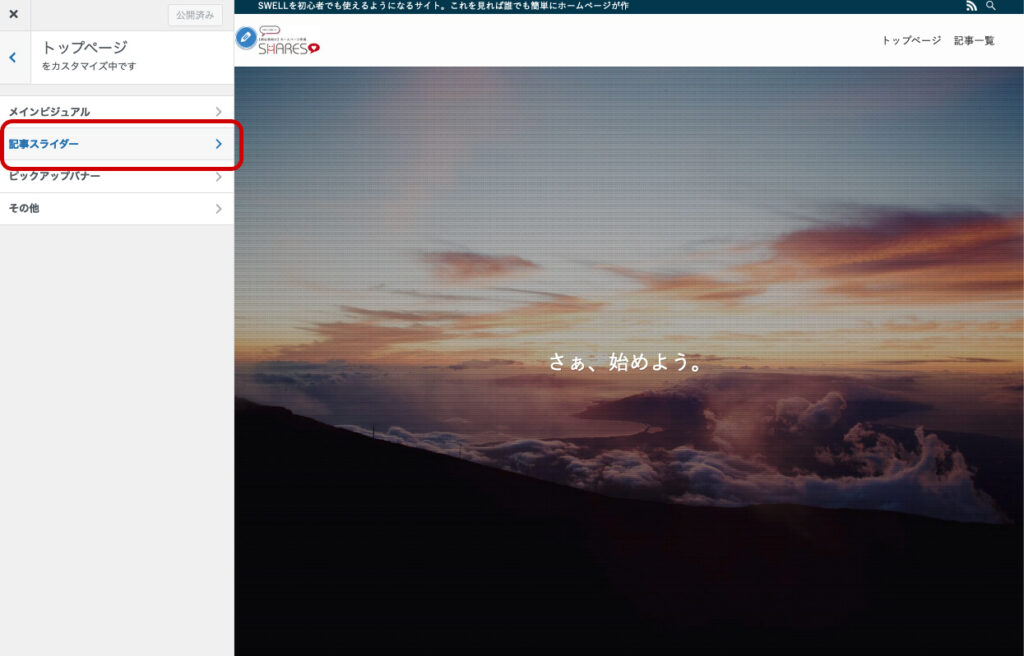
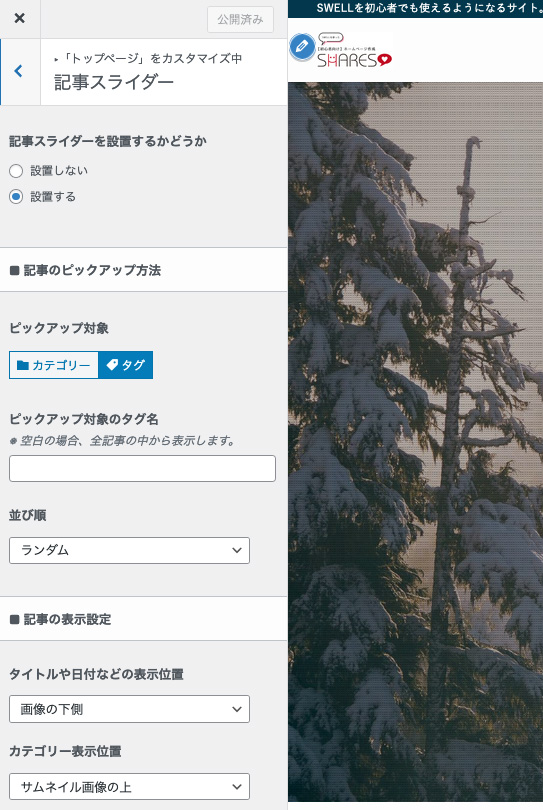
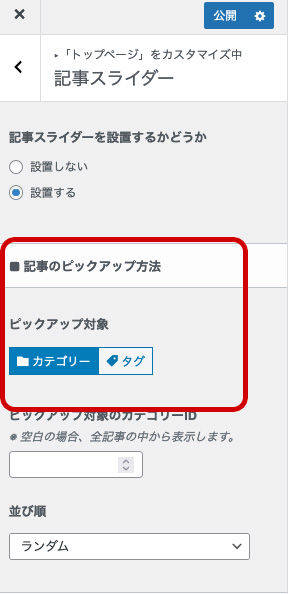
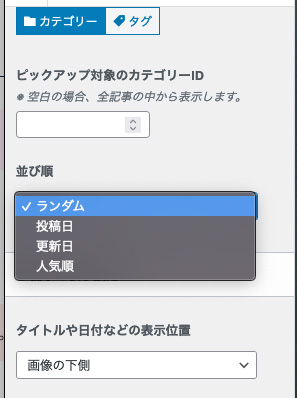
ここでは「カテゴリー」をクリックしてください。
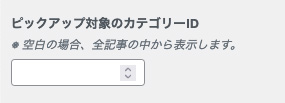
表示したいカテゴリーを「ピックアップ対象のカテゴリーID」の中に入れましょう。
全て表示する場合は空白で問題ありません。
 がんばりますさん
カテゴリーの作成方法がわからない場合は以下を参考にしてください。

ピックアップ対象のカテゴリーIDの確認方法
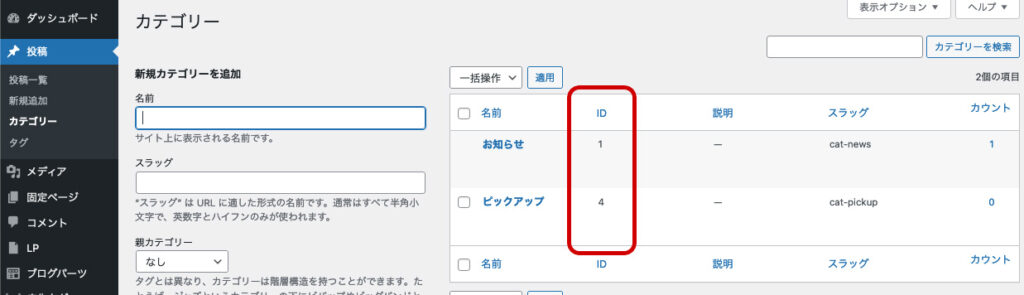
作成したカテゴリー名の横に「ID」という数字があります。
これがカテゴリーIDです。
くにみつ記事スライダーに「お知らせ」を表示させたい場合は「1」を。
「ピックアップ」を表示させたい場合は「4」を。
複数表示させたい場合は「,」で区切ってください。
例)1,4 ←これで「お知らせ」と「ピックアップ」が表示されます。
並び順
記事スライダーの表示順序を指定できます。お好みで指定しましょう。
 くにみつ
くにみつ記事の表示設定はプレビューを見ながら確認したり、実際公開後にもいろいろ変更しても問題ないので、お好みで設定してみてください。
タイトルや日付などの表示位置
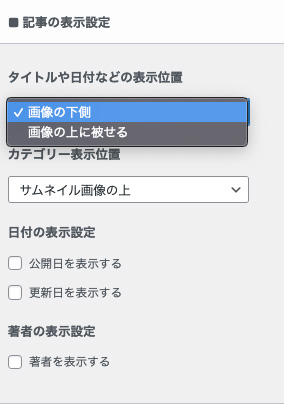
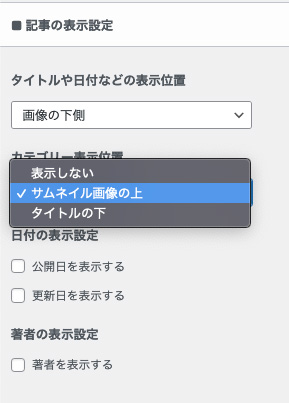
カテゴリー表示位置
日付の表示設定
著者の表示設定
くにみつ残りの「スライド設定」と「その他の表示設定」もお好みですね^^
記事スライダーで大切なのはどのカテゴリーに属する記事を表示させるかなので、いろいろ試してください。全ての記事を表示させるのか、それともピックアップ記事を表示させるのか。ですね。